

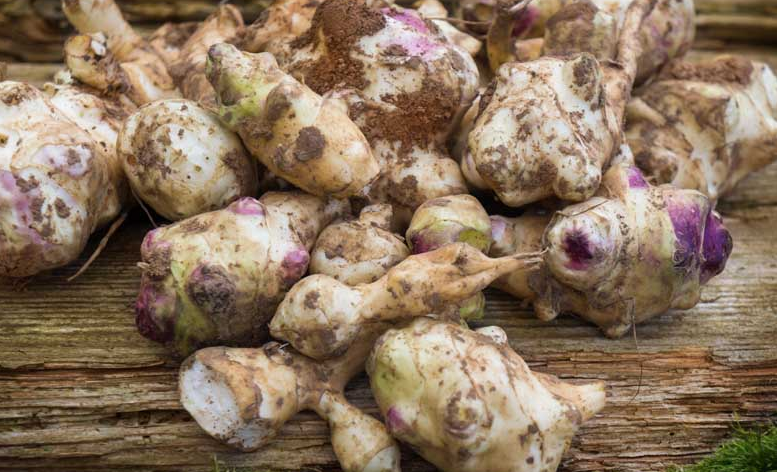


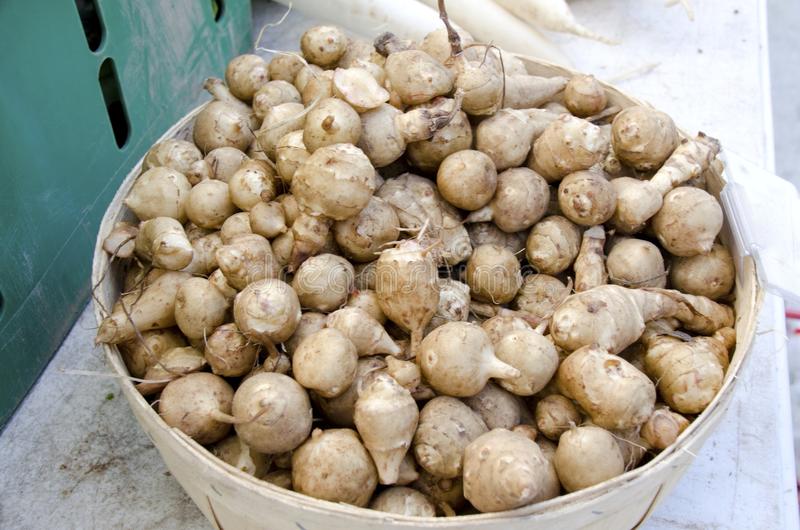
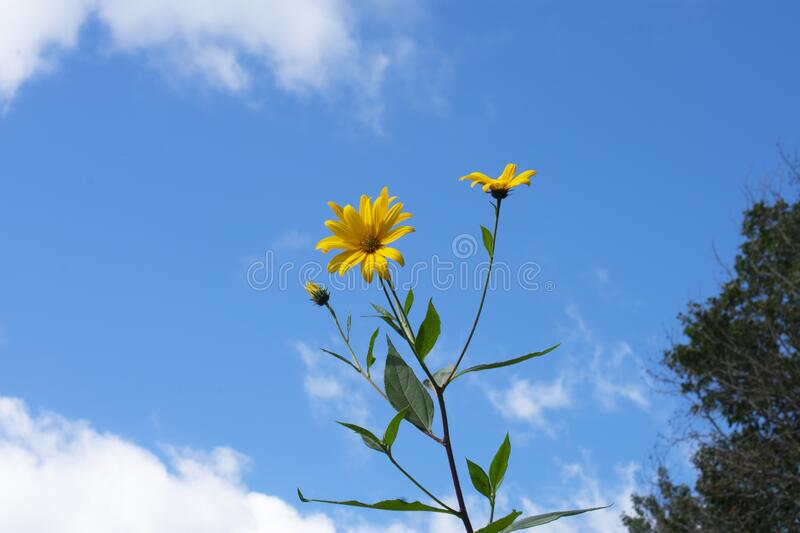
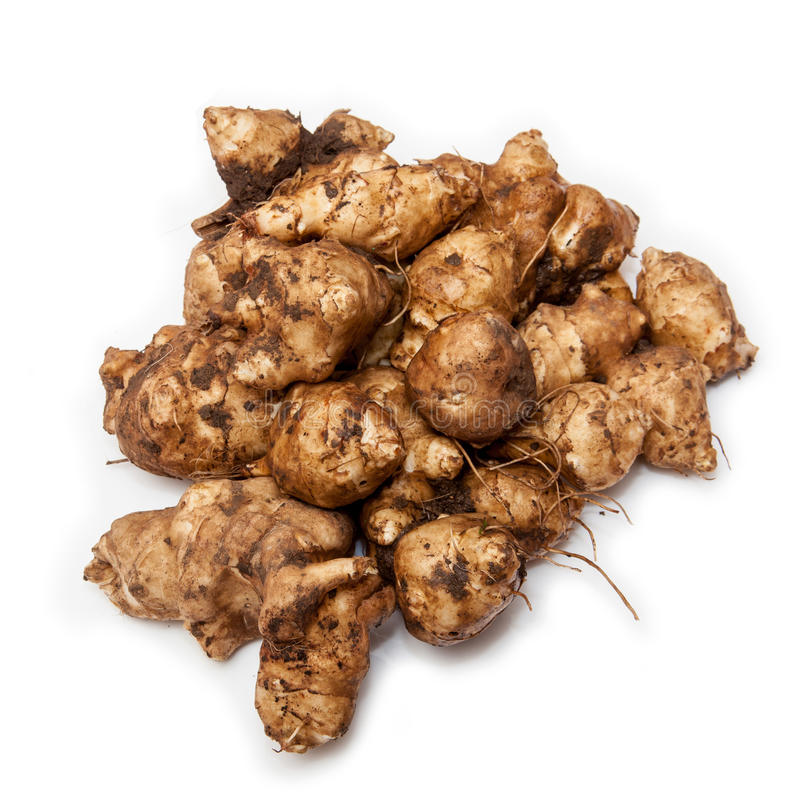
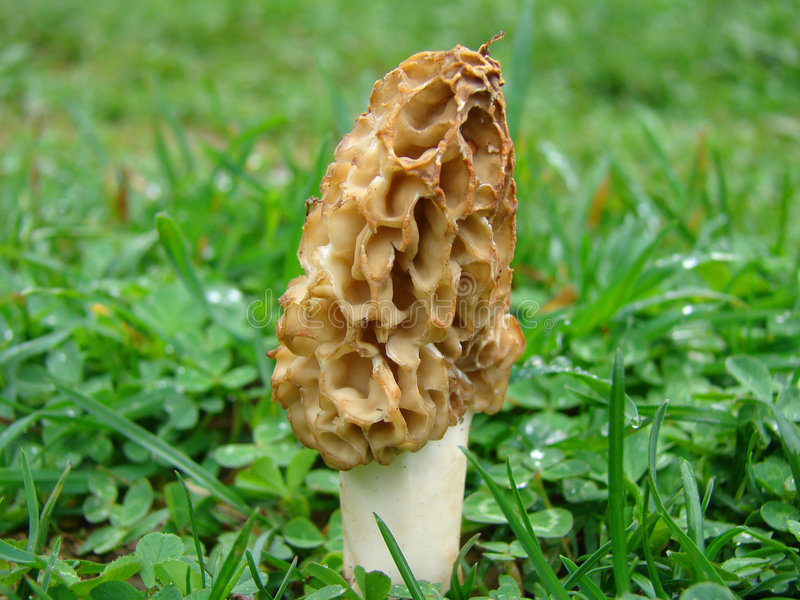
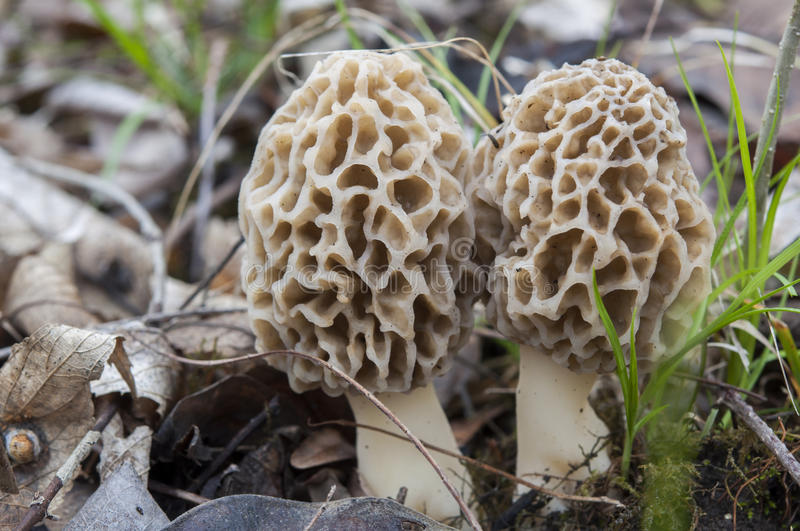

Growing Jerusalem artichokes can be a rewarding experience. These tall, sunflower-like plants produce delicious, nutty tubers that are great roasted, mashed, or made into soup. Adding morel mushrooms to the mix can take your Jerusalem artichokes to the next level. Morels are prized by gourmet cooks for their earthy, nutty flavor and meaty texture. They are also very expensive to buy, making them a great addition to any garden. In this article, we will cover the steps to growing Jerusalem artichokes are inoculated with morel mushrooms. Schedule Your Deliver HERE.
Step 1: Choose a planting location
Jerusalem artichokes grow best in full sun and well-draining soil. They can tolerate a wide range of soil types, but prefer a slightly acidic pH of 6.0 to 6.5. Choose a spot in your garden that gets at least six hours of direct sunlight each day. Avoid planting near trees or other plants that will shade your Jerusalem artichokes. Morels prefer a slightly acidic soil as well, so make sure your planting location has a pH between 6.0 and 7.0. As they grow to over 10 feet tall, the leaves will shade the ground and a thick wood mulch layer will preserve moisture and feed your mushroom mycelium.
Step 2: Prepare the soil
Before planting, prepare the soil by adding compost or aged manure. Jerusalem artichokes are heavy feeders and will benefit from a nutrient-rich soil. Morels also prefer a soil that is high in organic matter. Incorporating compost or aged manure into the soil will help provide the nutrients and organic matter that both plants need. Mulch with untreated wood, I prefer to use hardwood pellets.
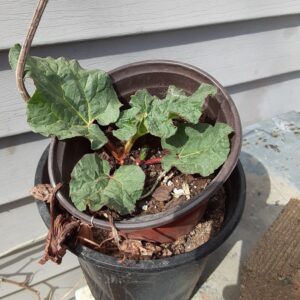
Step 3: Plant the tubers
Plant the started Jerusalem artichoke tubers in the spring after the last frost. Dig holes that are about 4 inches deep and 12 to 18 inches apart. Place a plant in each hole trying to keep the root mass together. Cover with soil and water thoroughly. Morel inoculum is included with your potted plant, and mulching with a thick layer of hardwood chips or sawdust will feed your mushrooms.
Step 4: Maintain the plants
Jerusalem artichokes require little maintenance once they are established. Water regularly during dry spells and fertilize every two weeks with a balanced fertilizer. Keep the area around the plants free of weeds. Morels also require little maintenance, but will benefit from a layer of mulch to help retain moisture in the soil. Adding bio-char is important to fruiting your morels, add a few chunks near your planting area in a shady spot and expect your mushrooms near that area.
Step 5: Harvest
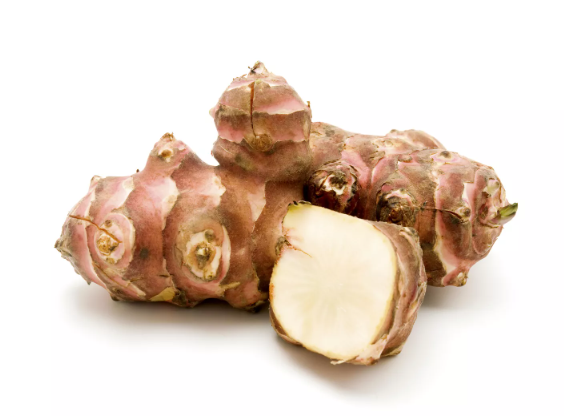
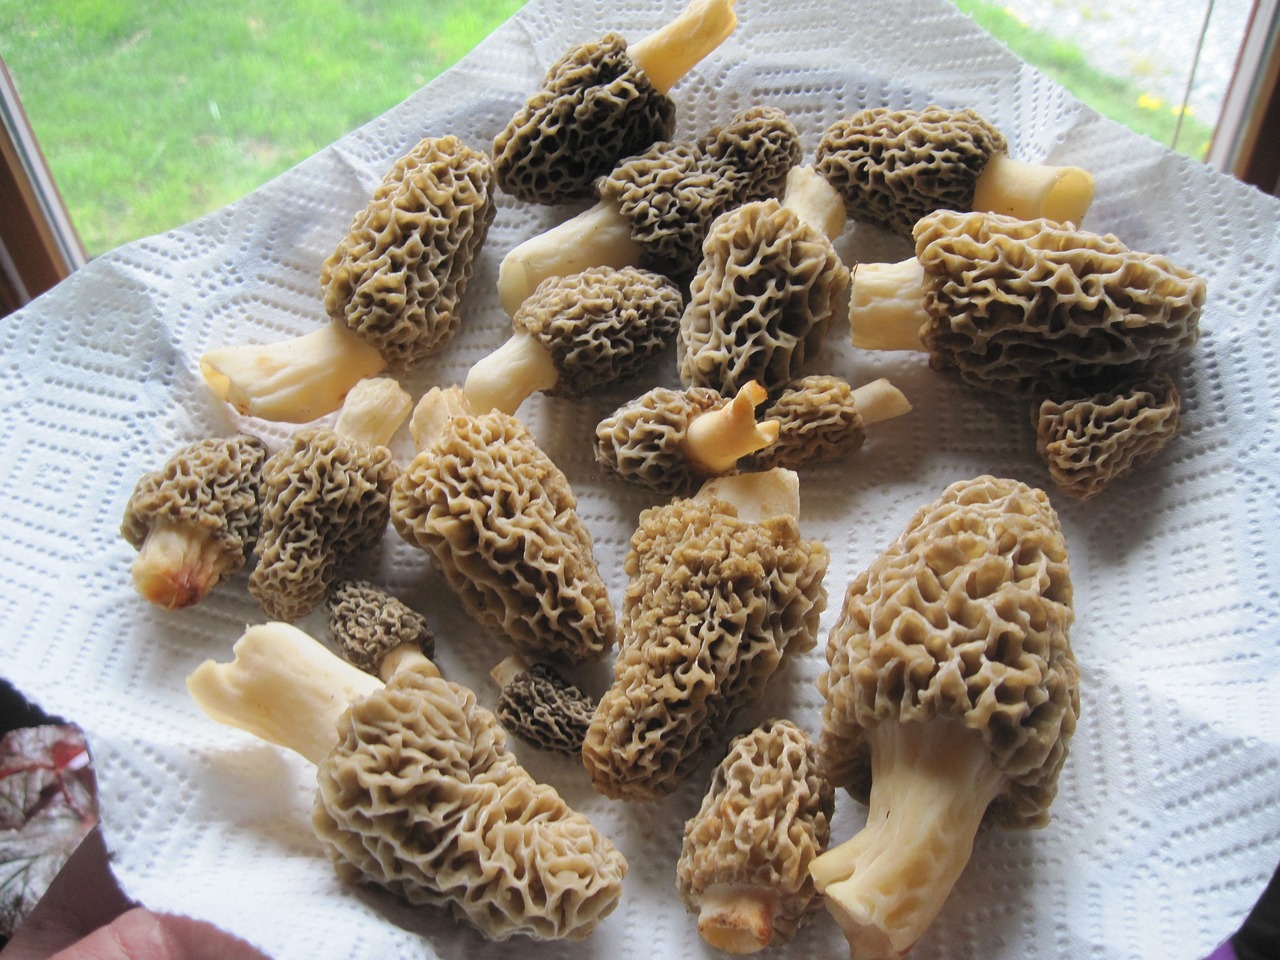
Jerusalem artichokes are ready to harvest in the fall after the foliage has died back. Dig up the tubers with a garden fork, being careful not to damage them. Store the tubers in a cool, dry place until ready to use. Morels can take a few years to produce a good crop, but once established they will fruit each spring. Harvest the mushrooms as soon as they are large enough to pick. The strain of golden morel used will be expected to fruit later in the year than native strains. In Minnesota, mine generally pop up late May or Early June after a few good rains.
In conclusion, growing Jerusalem artichokes that are inoculated with morel mushrooms is a great way to add variety to your garden and your plate. By following these simple steps, you can enjoy a bountiful harvest of nutty tubers and earthy mushrooms.


Reviews
There are no reviews yet.